

How to paint a room like a pro
How to paint a room similar a pro — follow these quick tips
If your room looks dated or in need of a makeover, knowing how to pigment a room like a pro tin can make all the difference. A fresh coat of paint is an affordable way to refresh a infinite, brighten up a tedious room and give it an instant uplift.
What's more than, painting a room is a quick projection we can easily tackle ourselves without calling in the professionals, saving us extra cash.
- Had an accident? Hither'south how to get pigment out of the rug
- If you want to maintain your walls, here's how to clean painted walls to remove stains
While information technology may seem like a simple chore, there are some tips and tricks of the trade to know before you get-go. Common mistakes can often happen without the correct preparation, and so it's vital to know how to paint a room properly to become those professional results.
So whether you fancy a fresh color for the New Year or simply want to revamp a tired-looking room, here's how to paint a room like a pro in ix like shooting fish in a barrel steps.
How to paint a room
1. Prep the room for painting
What yous'll need
Painter's tape
Drib cloths
Putty pocketknife
Caulk
Paint brushes (both angled and direct)
Paint roller
Pigment tray
Stir stick
Paint swatches
Pigment
— First, move article of furniture and fixtures out of the room or away from the walls into the center of the room. Embrace piece of furniture with protective drop cloths.
— And so, cover the flooring with drop cloths or old bed linen to protect it from paint drips and splatters. Canvas sheets are more durable and absorptive than plastic drop cloths , but the plastic sheets are less expensive and more accessible. We recommend this Canvas Drop Cloth ($24, Amazon) which is both heavy duty and durable.

—Remove outlet and light switch plates to forestall any paint getting on them, and comprehend what remains with painter's tape.
— Ensure at that place is proper ventilation earlier painting to eliminate the build-upward of pigment fumes by opening a window or door.
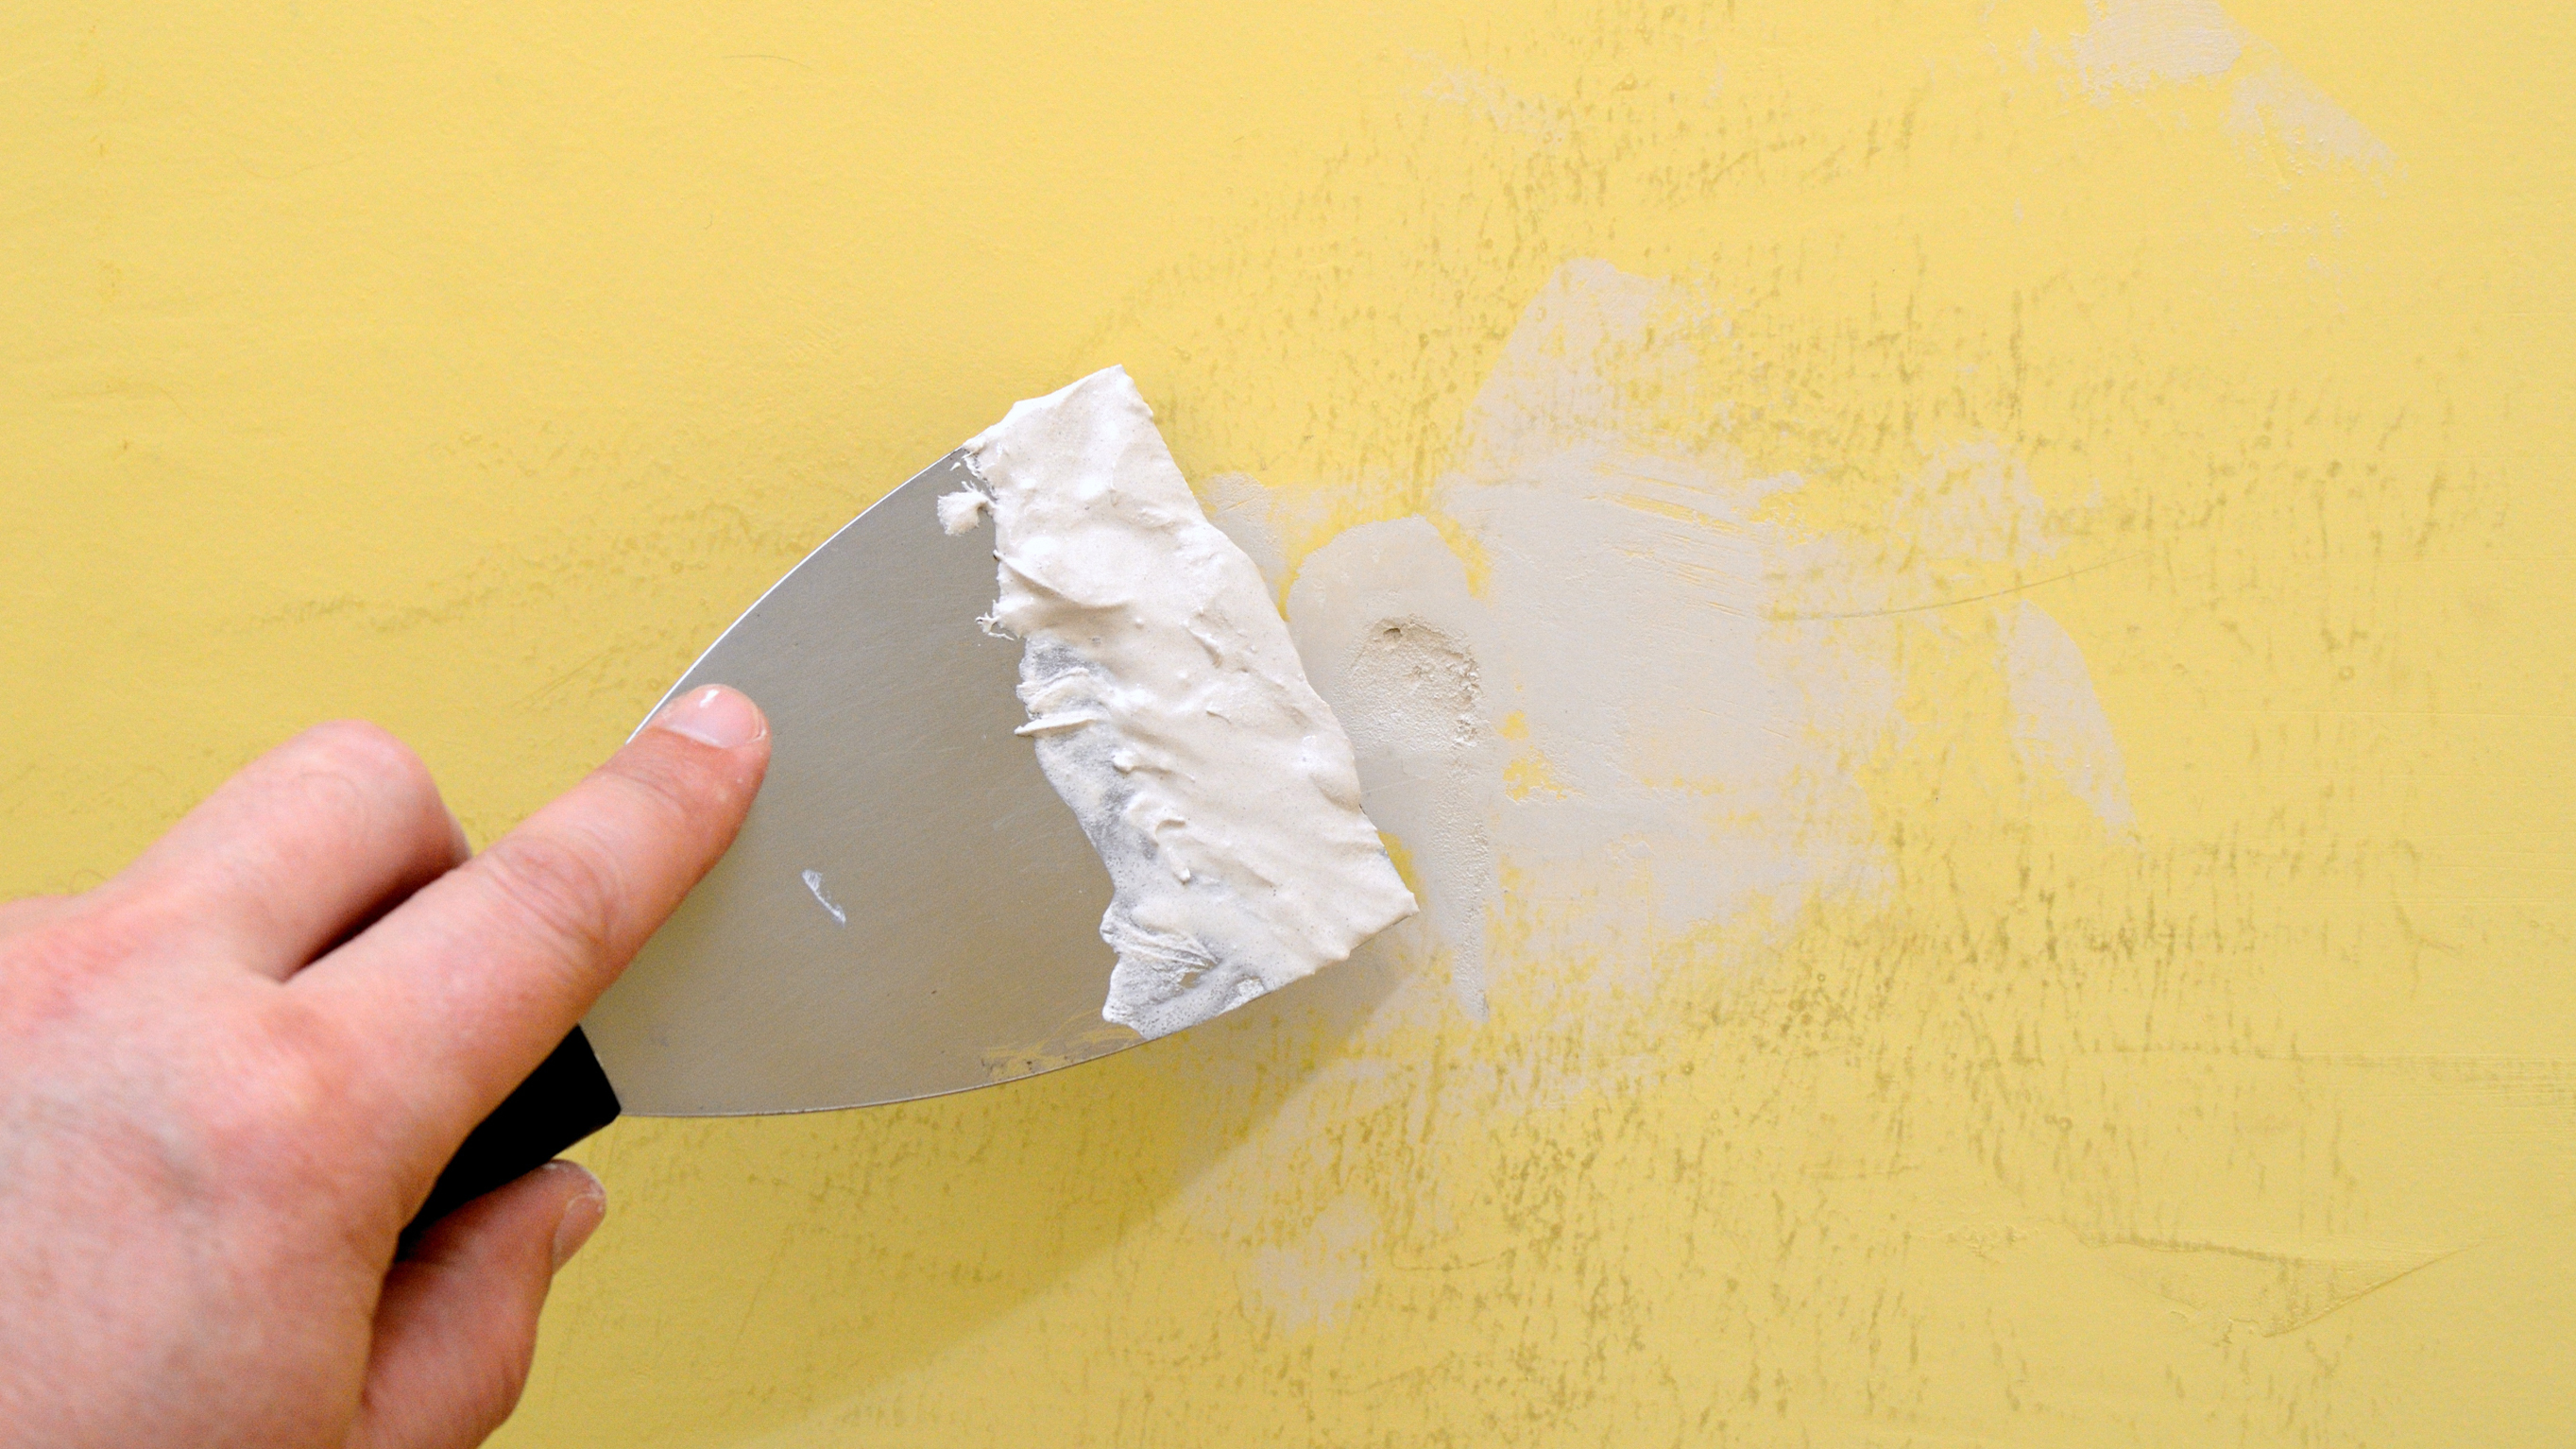
2. Repair the walls
— Check the surface of the wall for any cracks, holes or dents that need to be repaired. Utilise caulk to fill up in any cracks or holes with a putty knife, and let it dry completely. We tin recommend Dap 18128 Alex Plus Acrylic Latex Caulk Plus Silicone 5.v-Ounce - 4 Pack ($21, Amazon).
— Once dry, lightly sand the area with a fine 220-grit sandpaper or sanding sponge to smoothen the surface. Then, wipe the surfaces make clean with a damp cloth and allow to dry again.
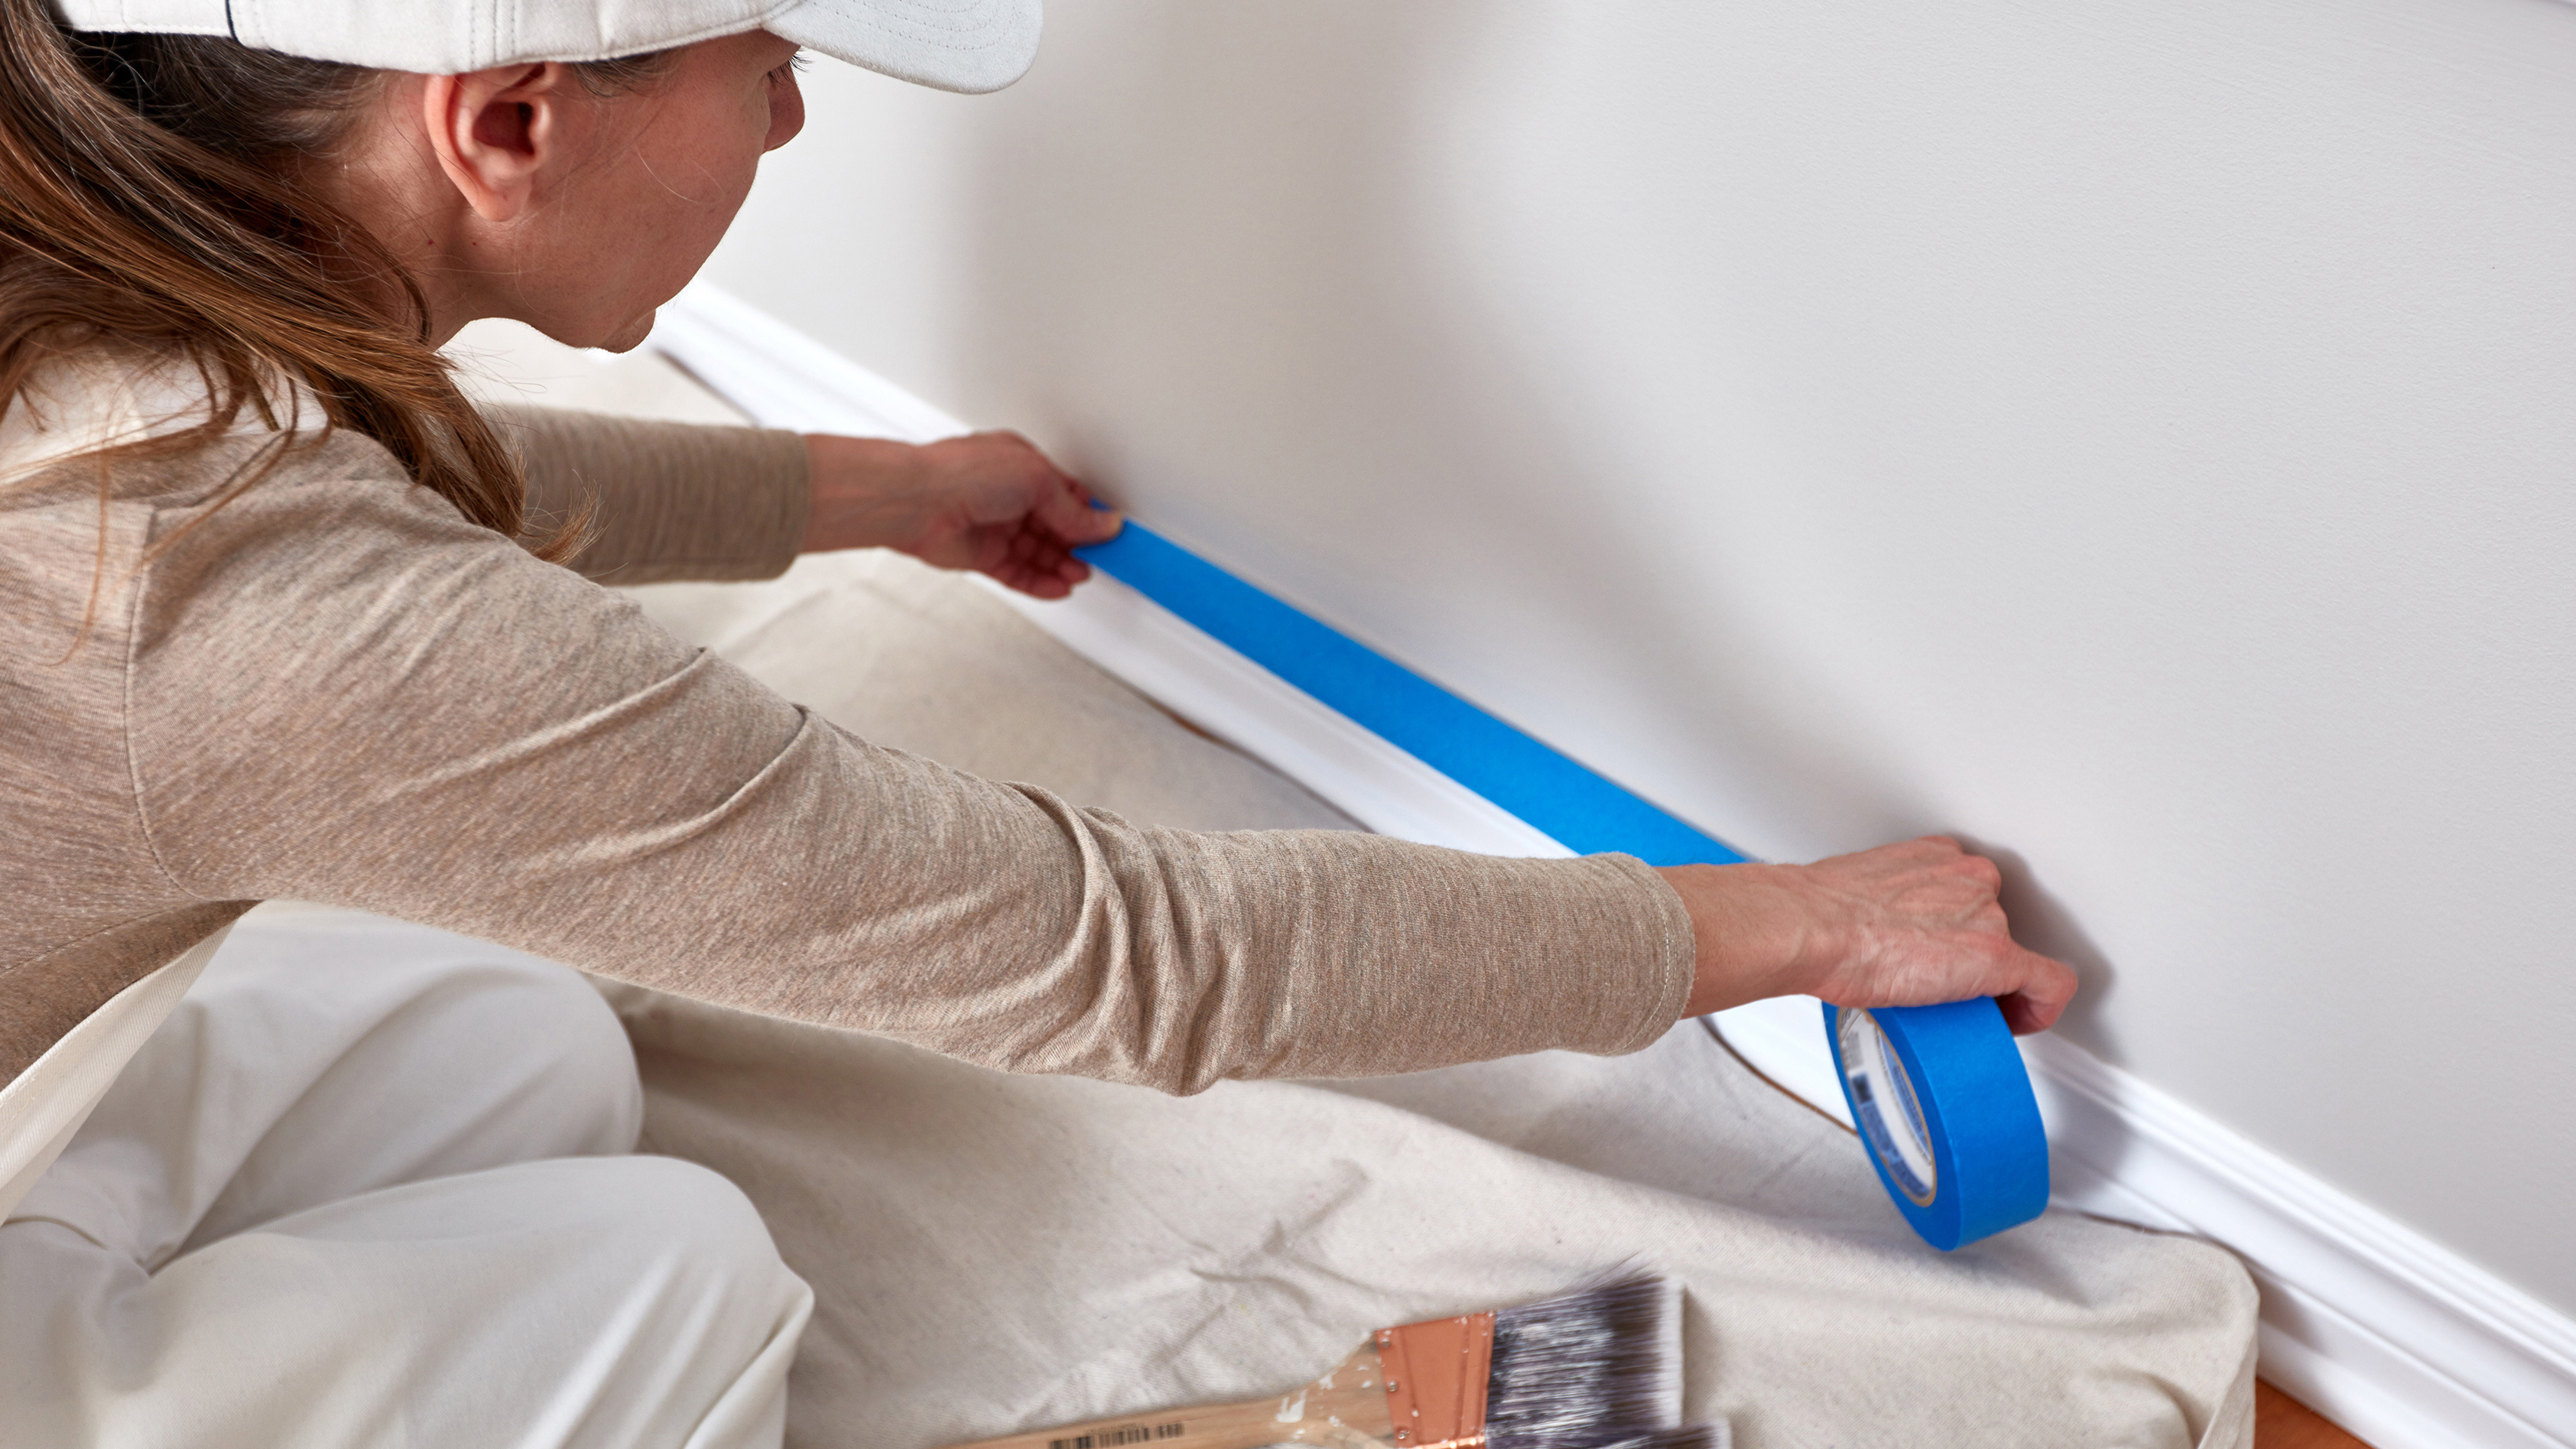
3. Apply painter's tape
— Adjacent upwardly, apply painter's tape around your skirting, windows, light sockets and doors to prevent paint haemorrhage through.
For a non-textured surface, ensure you mask it off where it meets the edge of the wall, pressing downwardly firmly forth the border. We recommend ScotchBlue Sharp Lines Painter's Tape ($24, Amazon) or Frogtape 1358463 Multi-Surface Painter's Tape with Paintblock ($5, Amazon) to do the job.
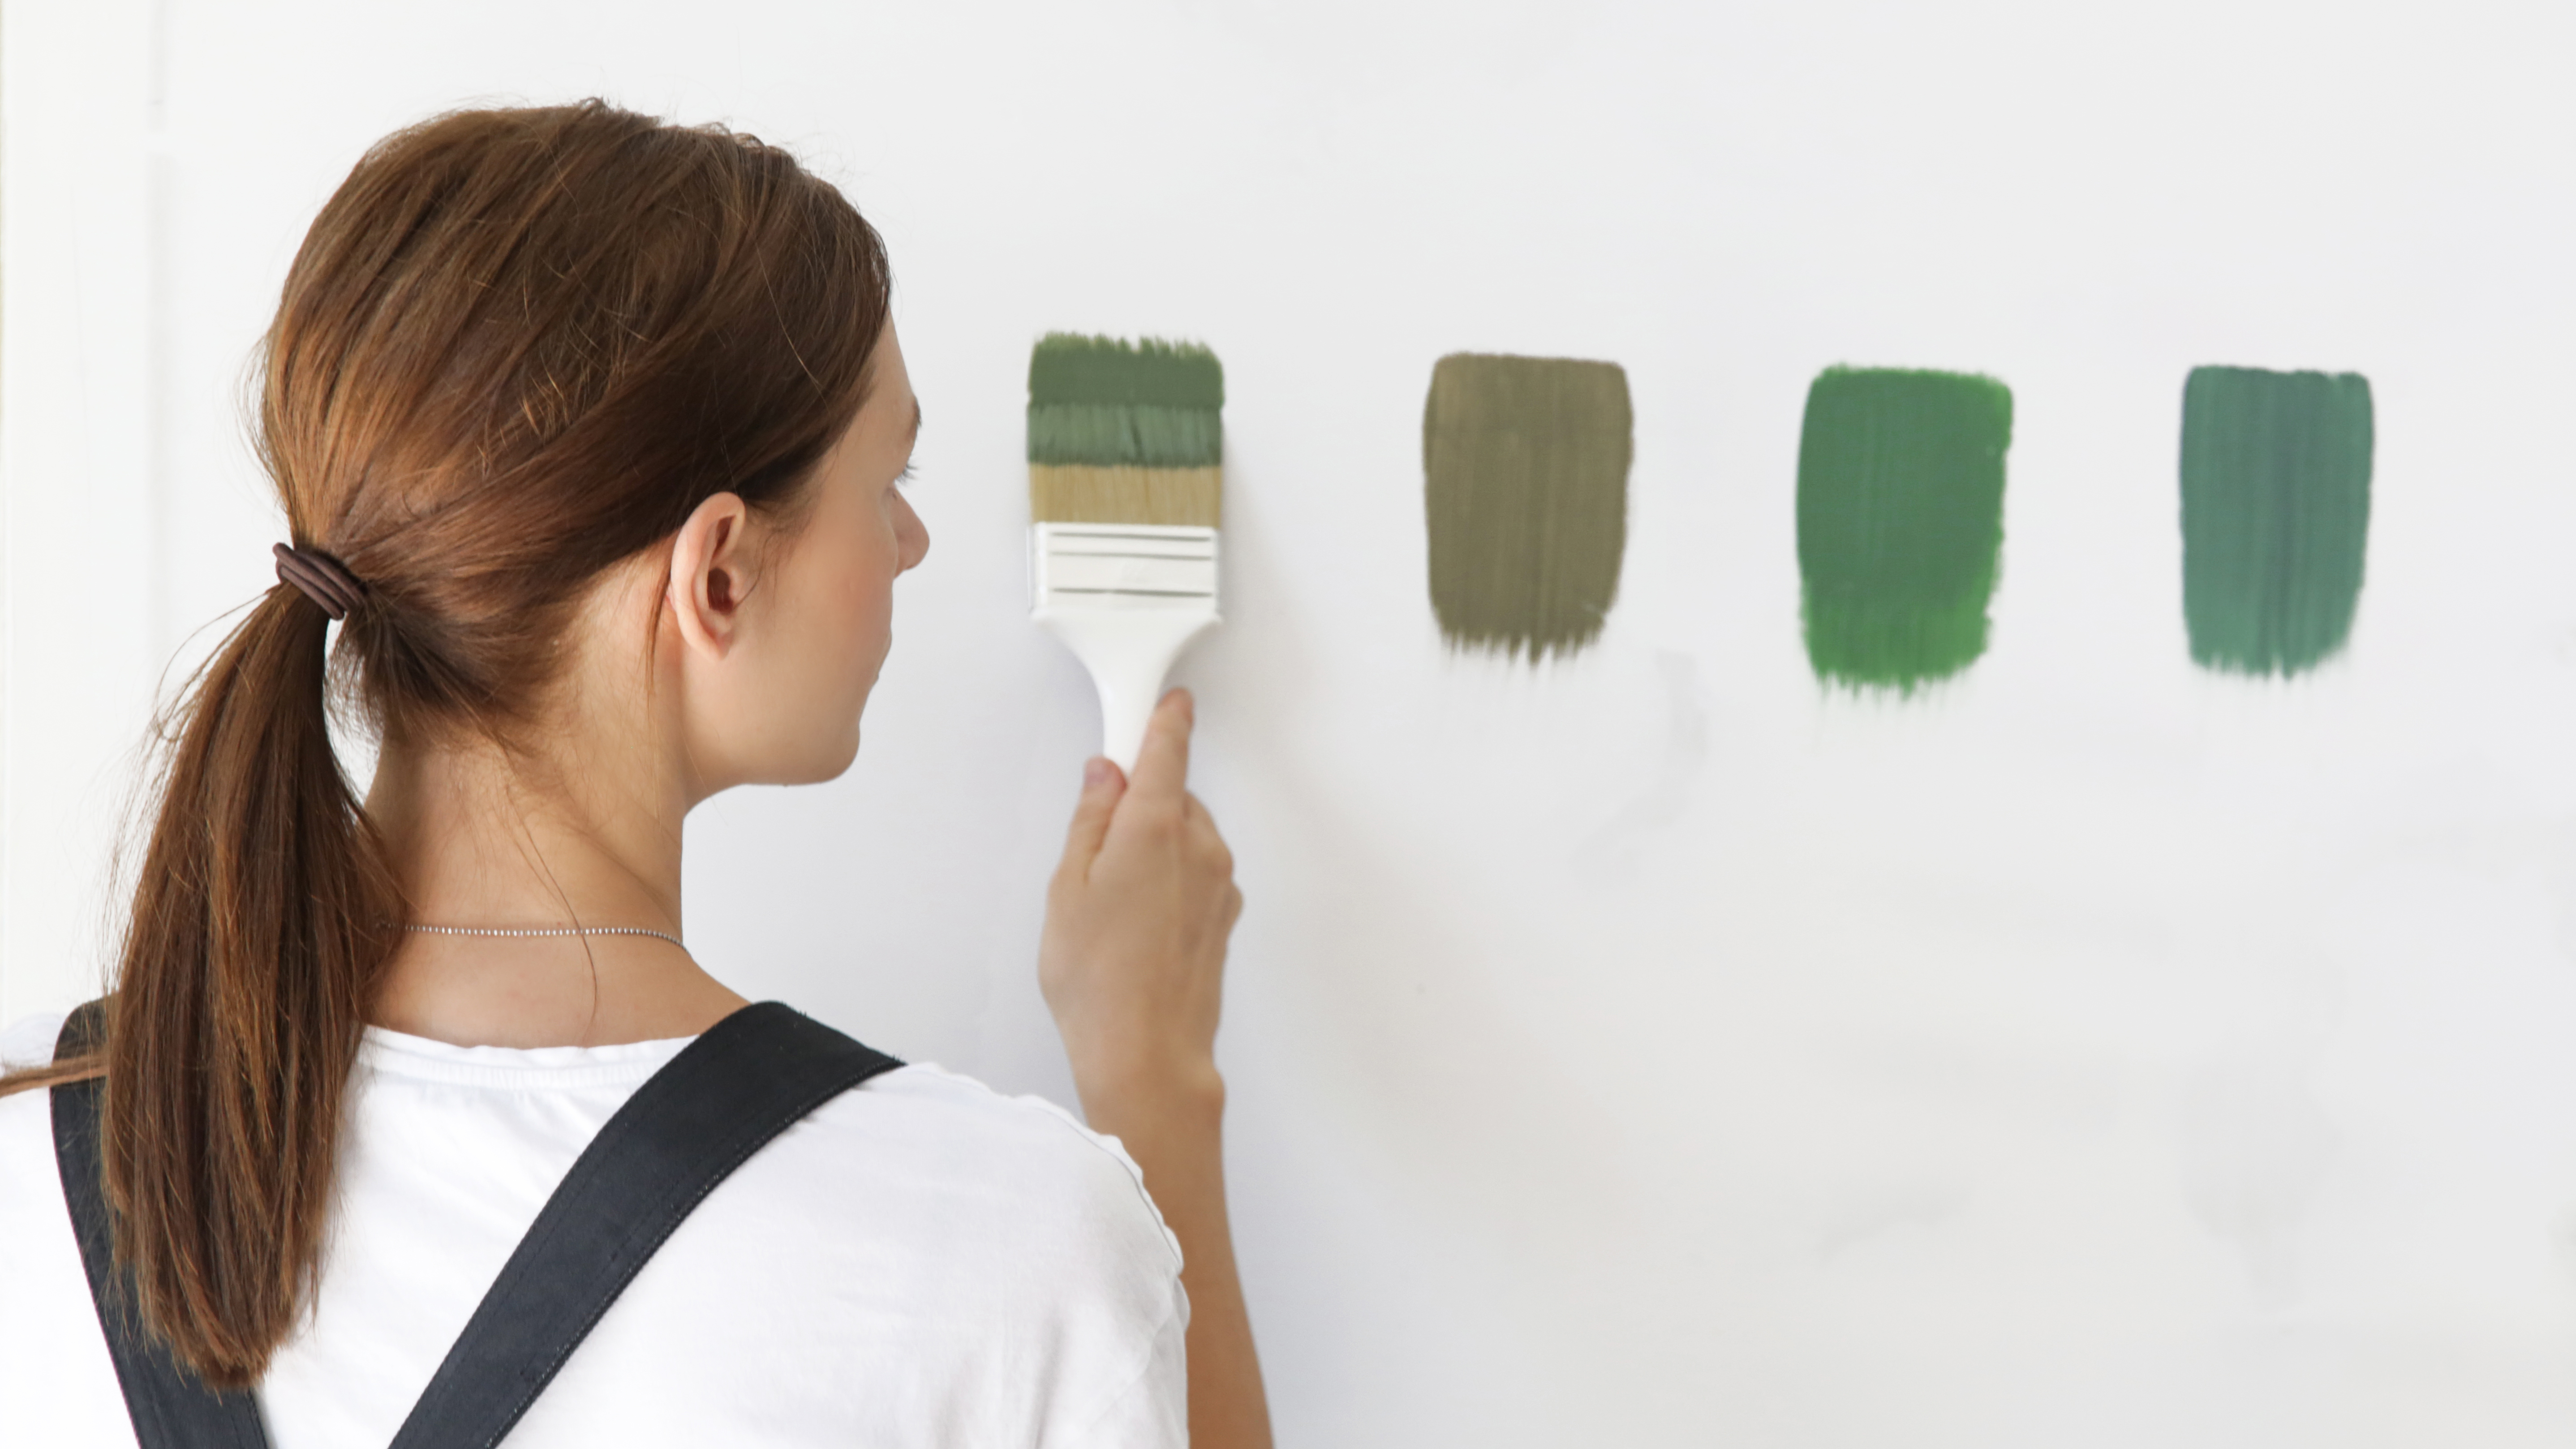
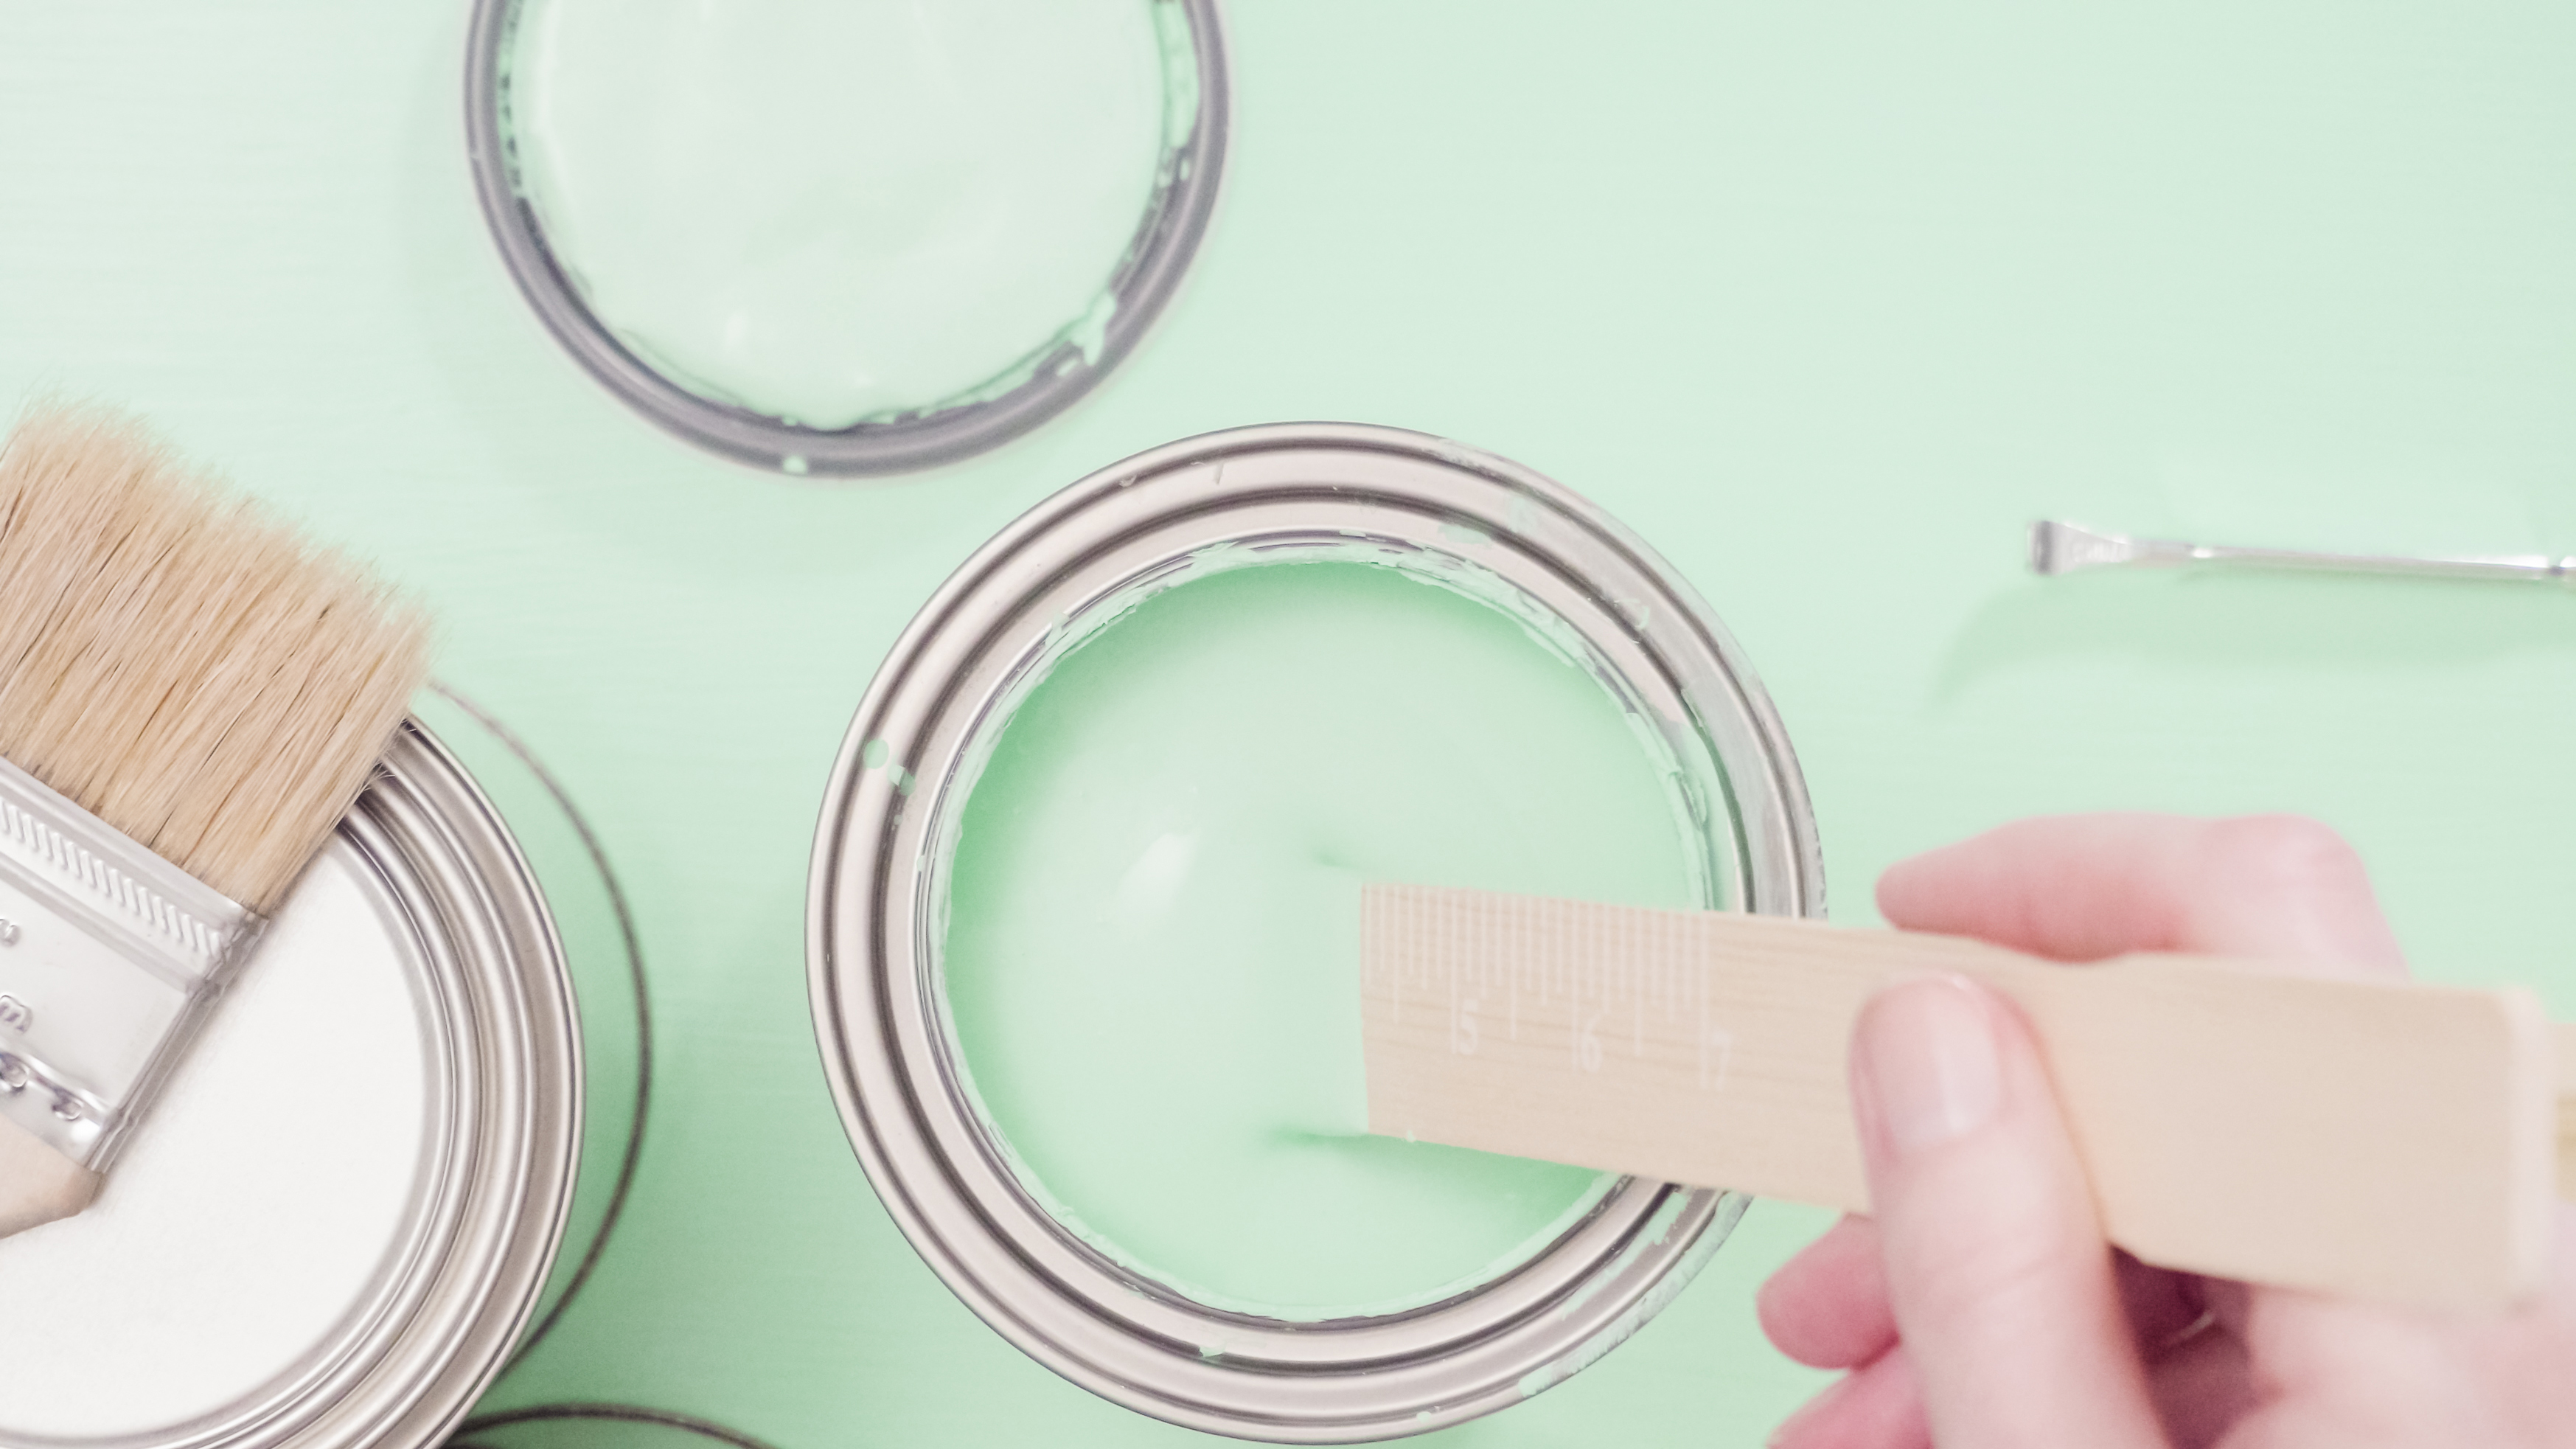
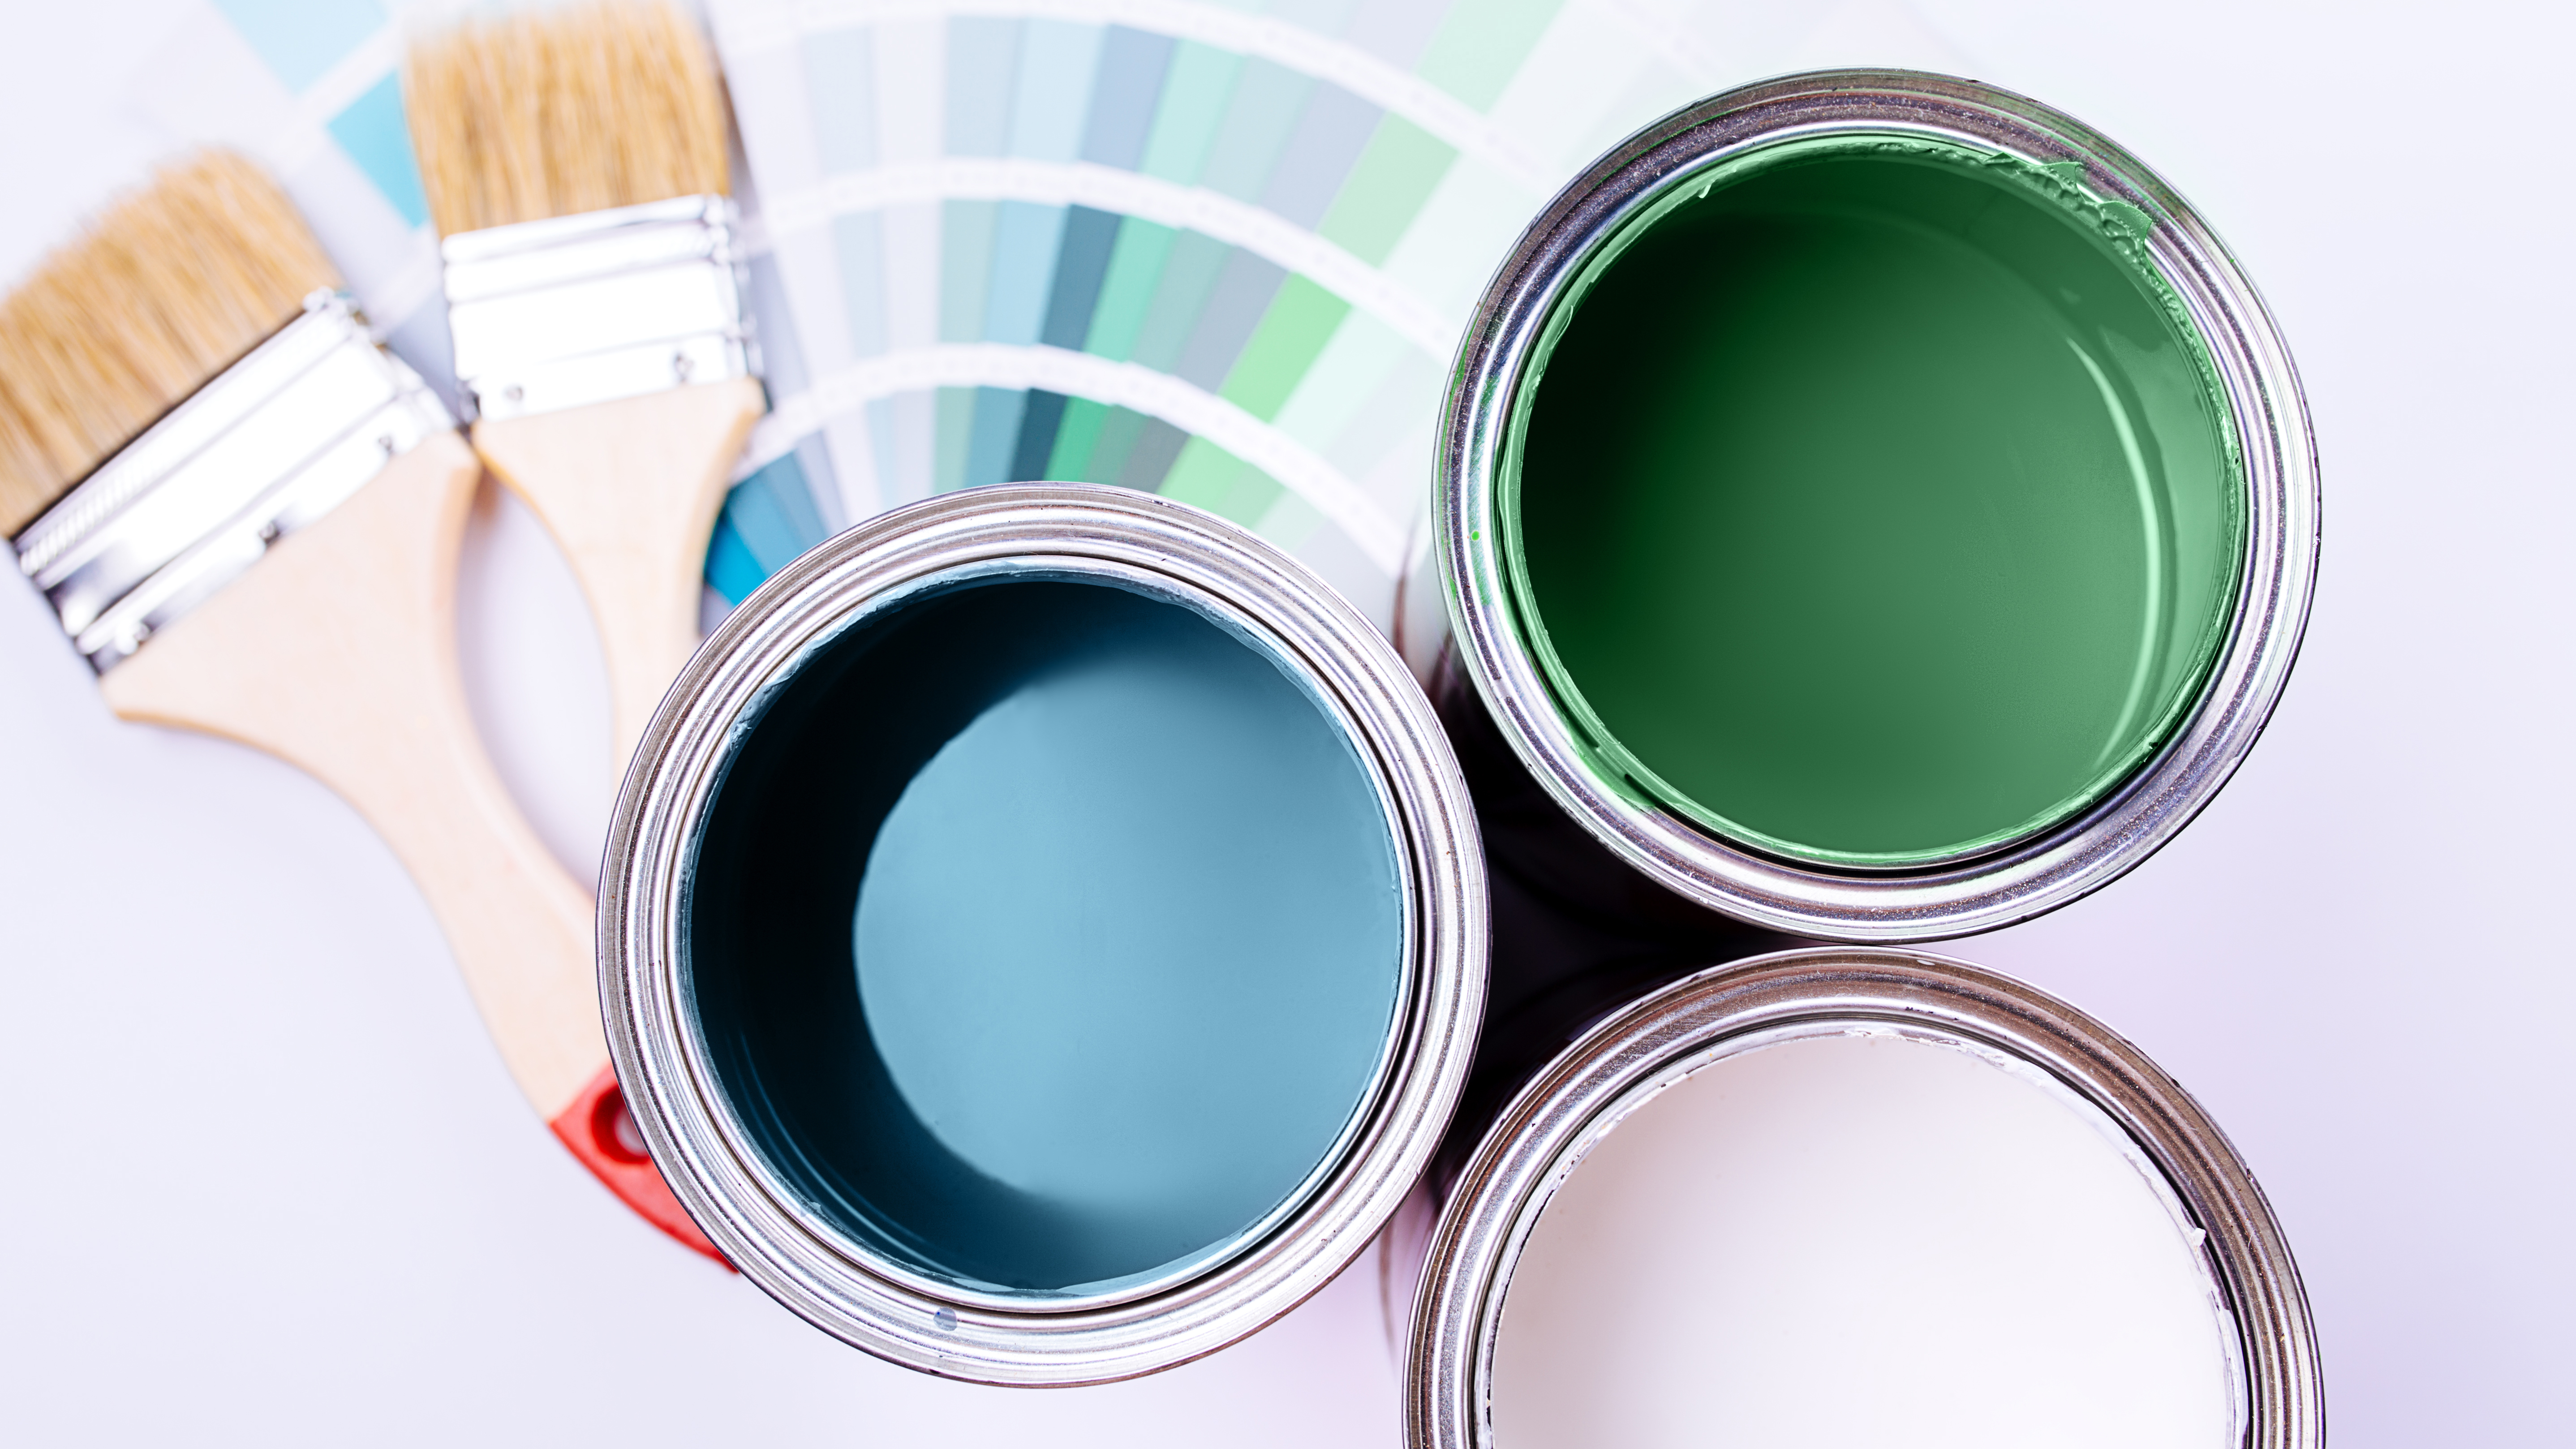
4. Sample the paint
— Test a sample of the paint first to requite you lot an idea of how the color will expect. Often the color charts expect different to reality, and then pigment two coats of your called colour in a 12 x 12 inch foursquare to see what it looks like on your wall.
— If you don't want to test directly onto the wall, you can paint two coats on a foam board and tape it to the wall. This volition also save yous the hassle of repainting a room if you don't like the final color.
5. Prime number the walls
— Y'all'll need to prime your walls earlier painting, especially when you're painting over a nighttime color with a lighter tone or want to hibernate unsightly stains. Using a proficient quality primer is essential; it will help seal the wall and prevent mold.
— First, dip a pigment brush into the primer and "cutting in" 2- to 3-inch bands of primer effectually the edges, corners and frames of a room. So, pour the primer pigment into a tray, dip your roller brush in until it'due south covered, curlicue off the excess, and kickoff painting the primer onto the wall. Professionals recommend to work top to bottom, followed past rolling back and forth beyond the wall in Five or W-shaped strokes until the section of wall is covered. This will ensure good coverage.
— Exit to completely dry before painting. Near latex primers can take betwixt 30 minutes to one hr to dry, while oil-based primers tin can take up to 24 hours to fully dry. Follow the given instructions for time to dry out.
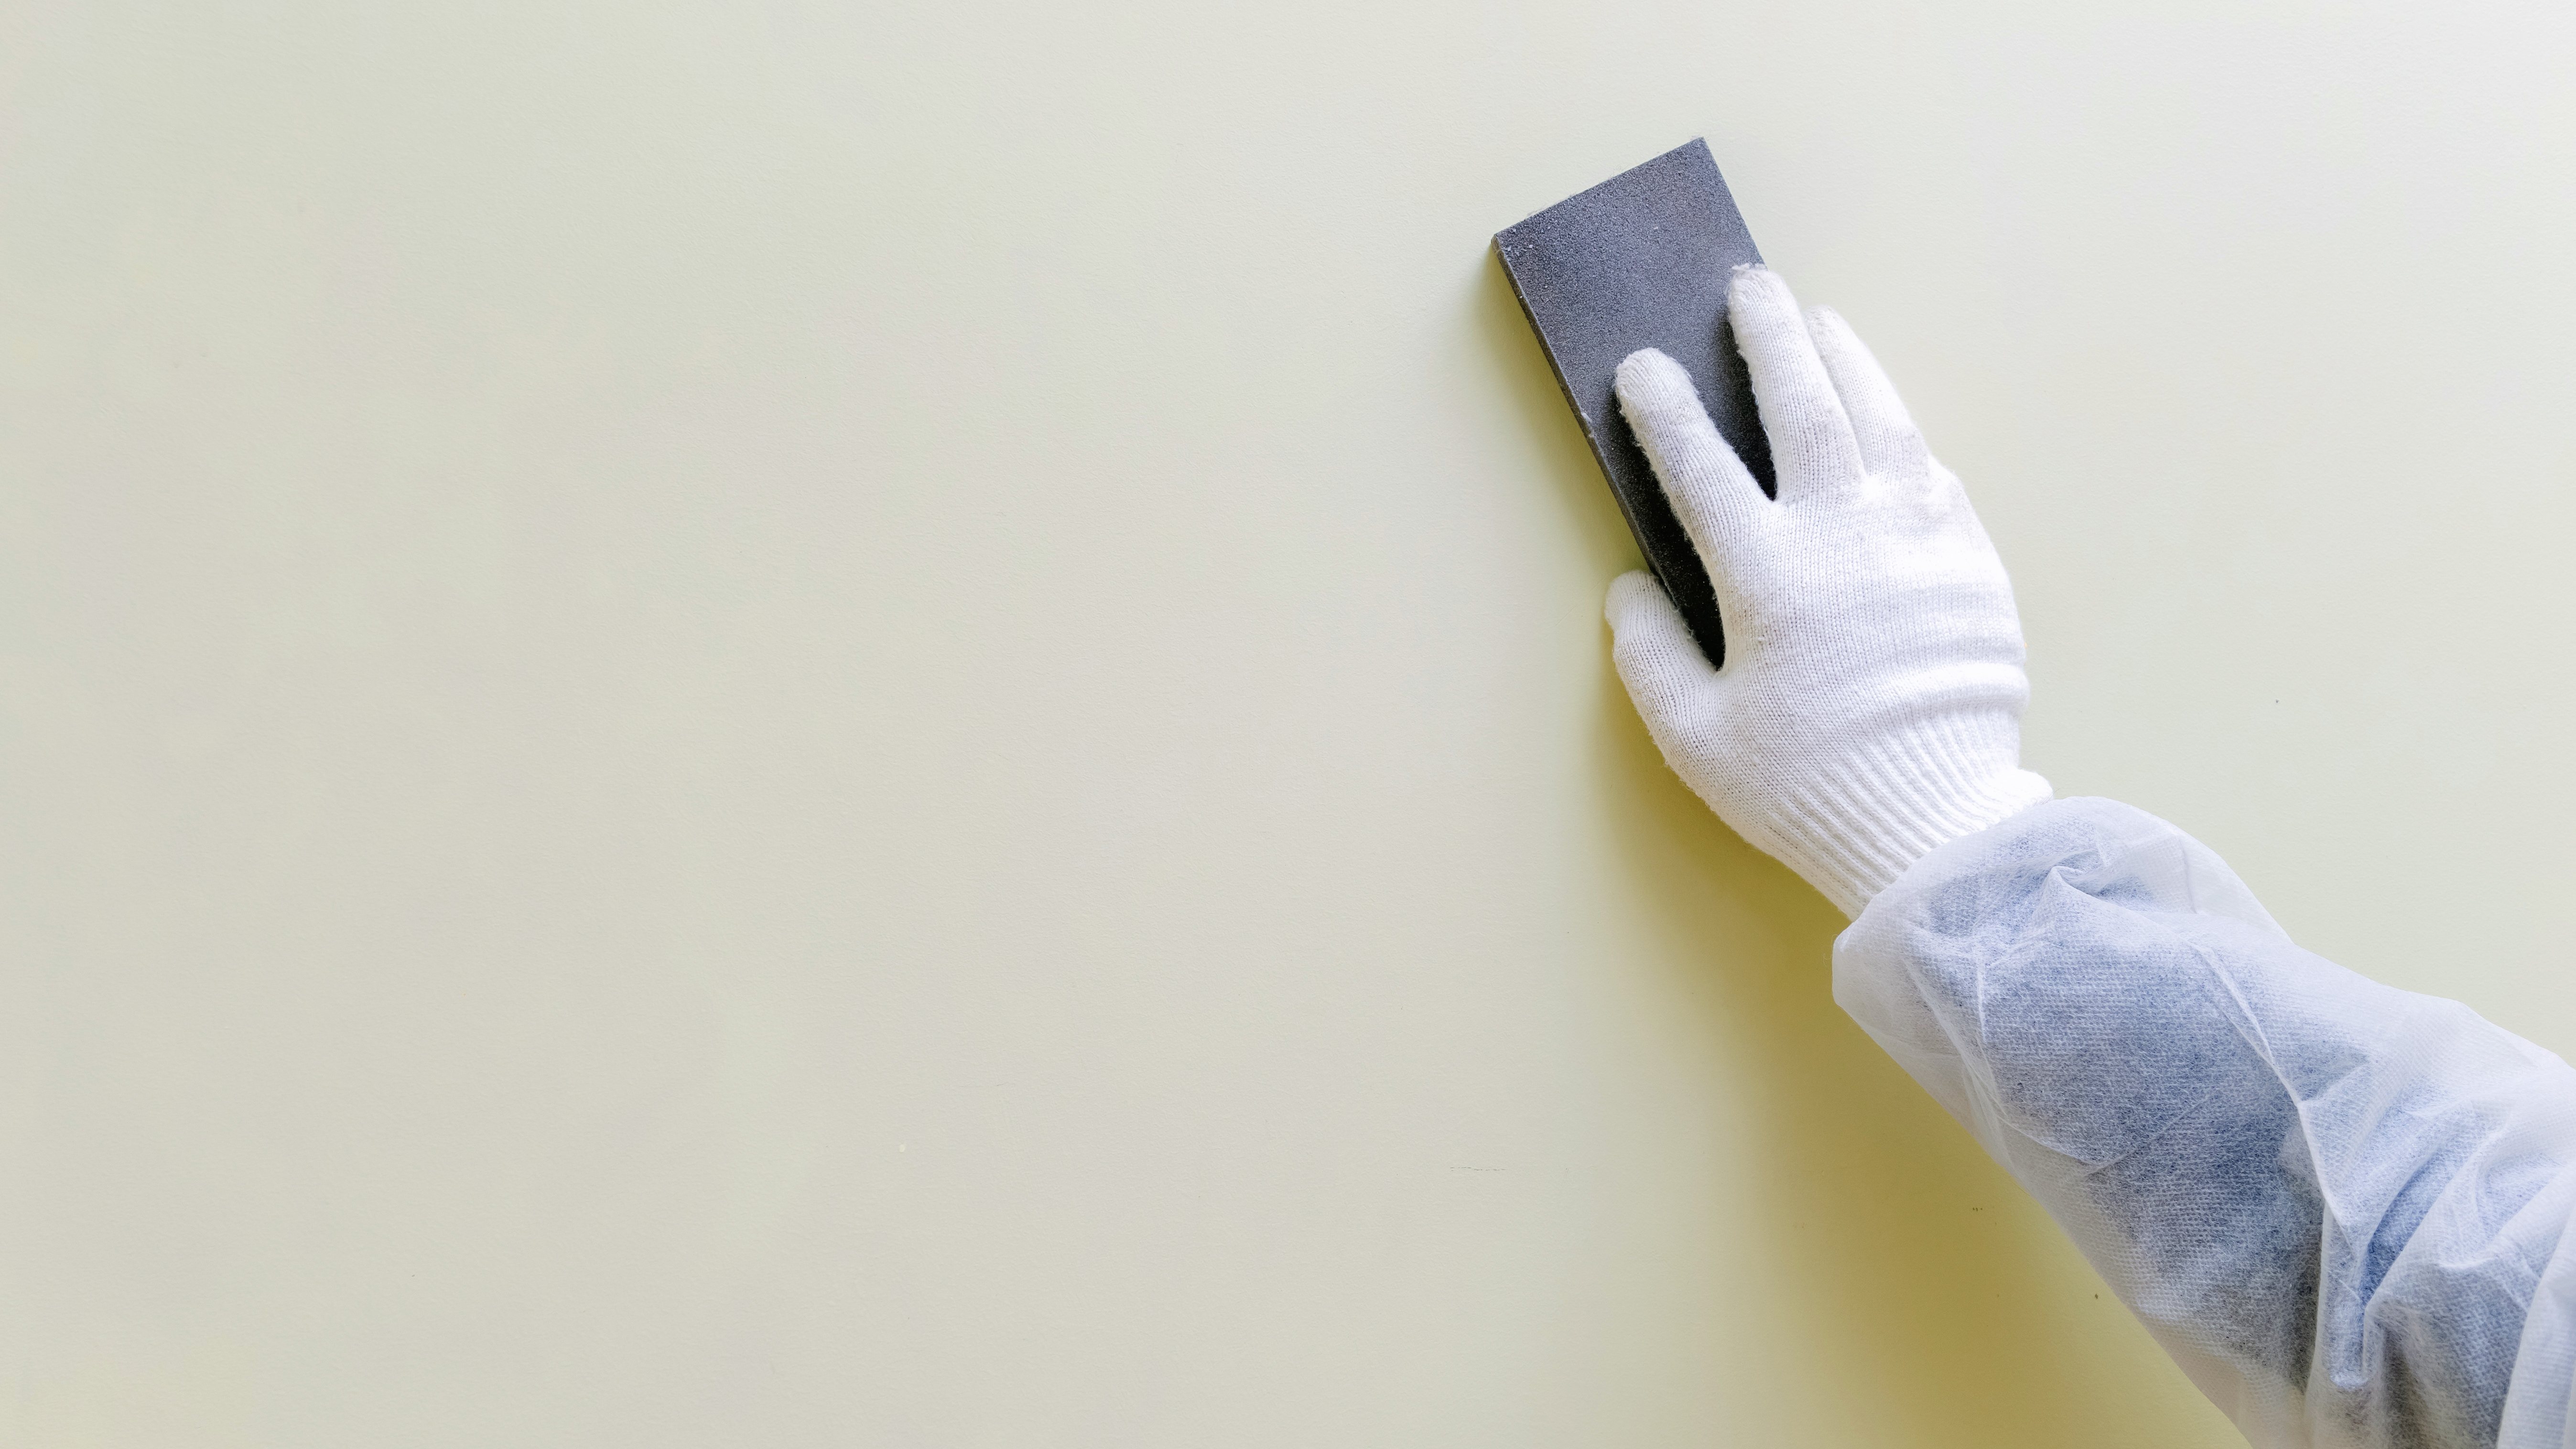
6. Sand your wall primer
— When the primer is dry, lightly sand the wall with a fine dust sandpaper on a block to get rid of bumps or ridges and create a polish surface. We can recommend Fandeli Sandpaper Sheets ($13, Amazon), or MICHENG 6PCs Sanding Blocks ($8, Amazon).
— Once the surface area is smooth, wipe the wall clean with a damp towel or sponge and allow it to dry.
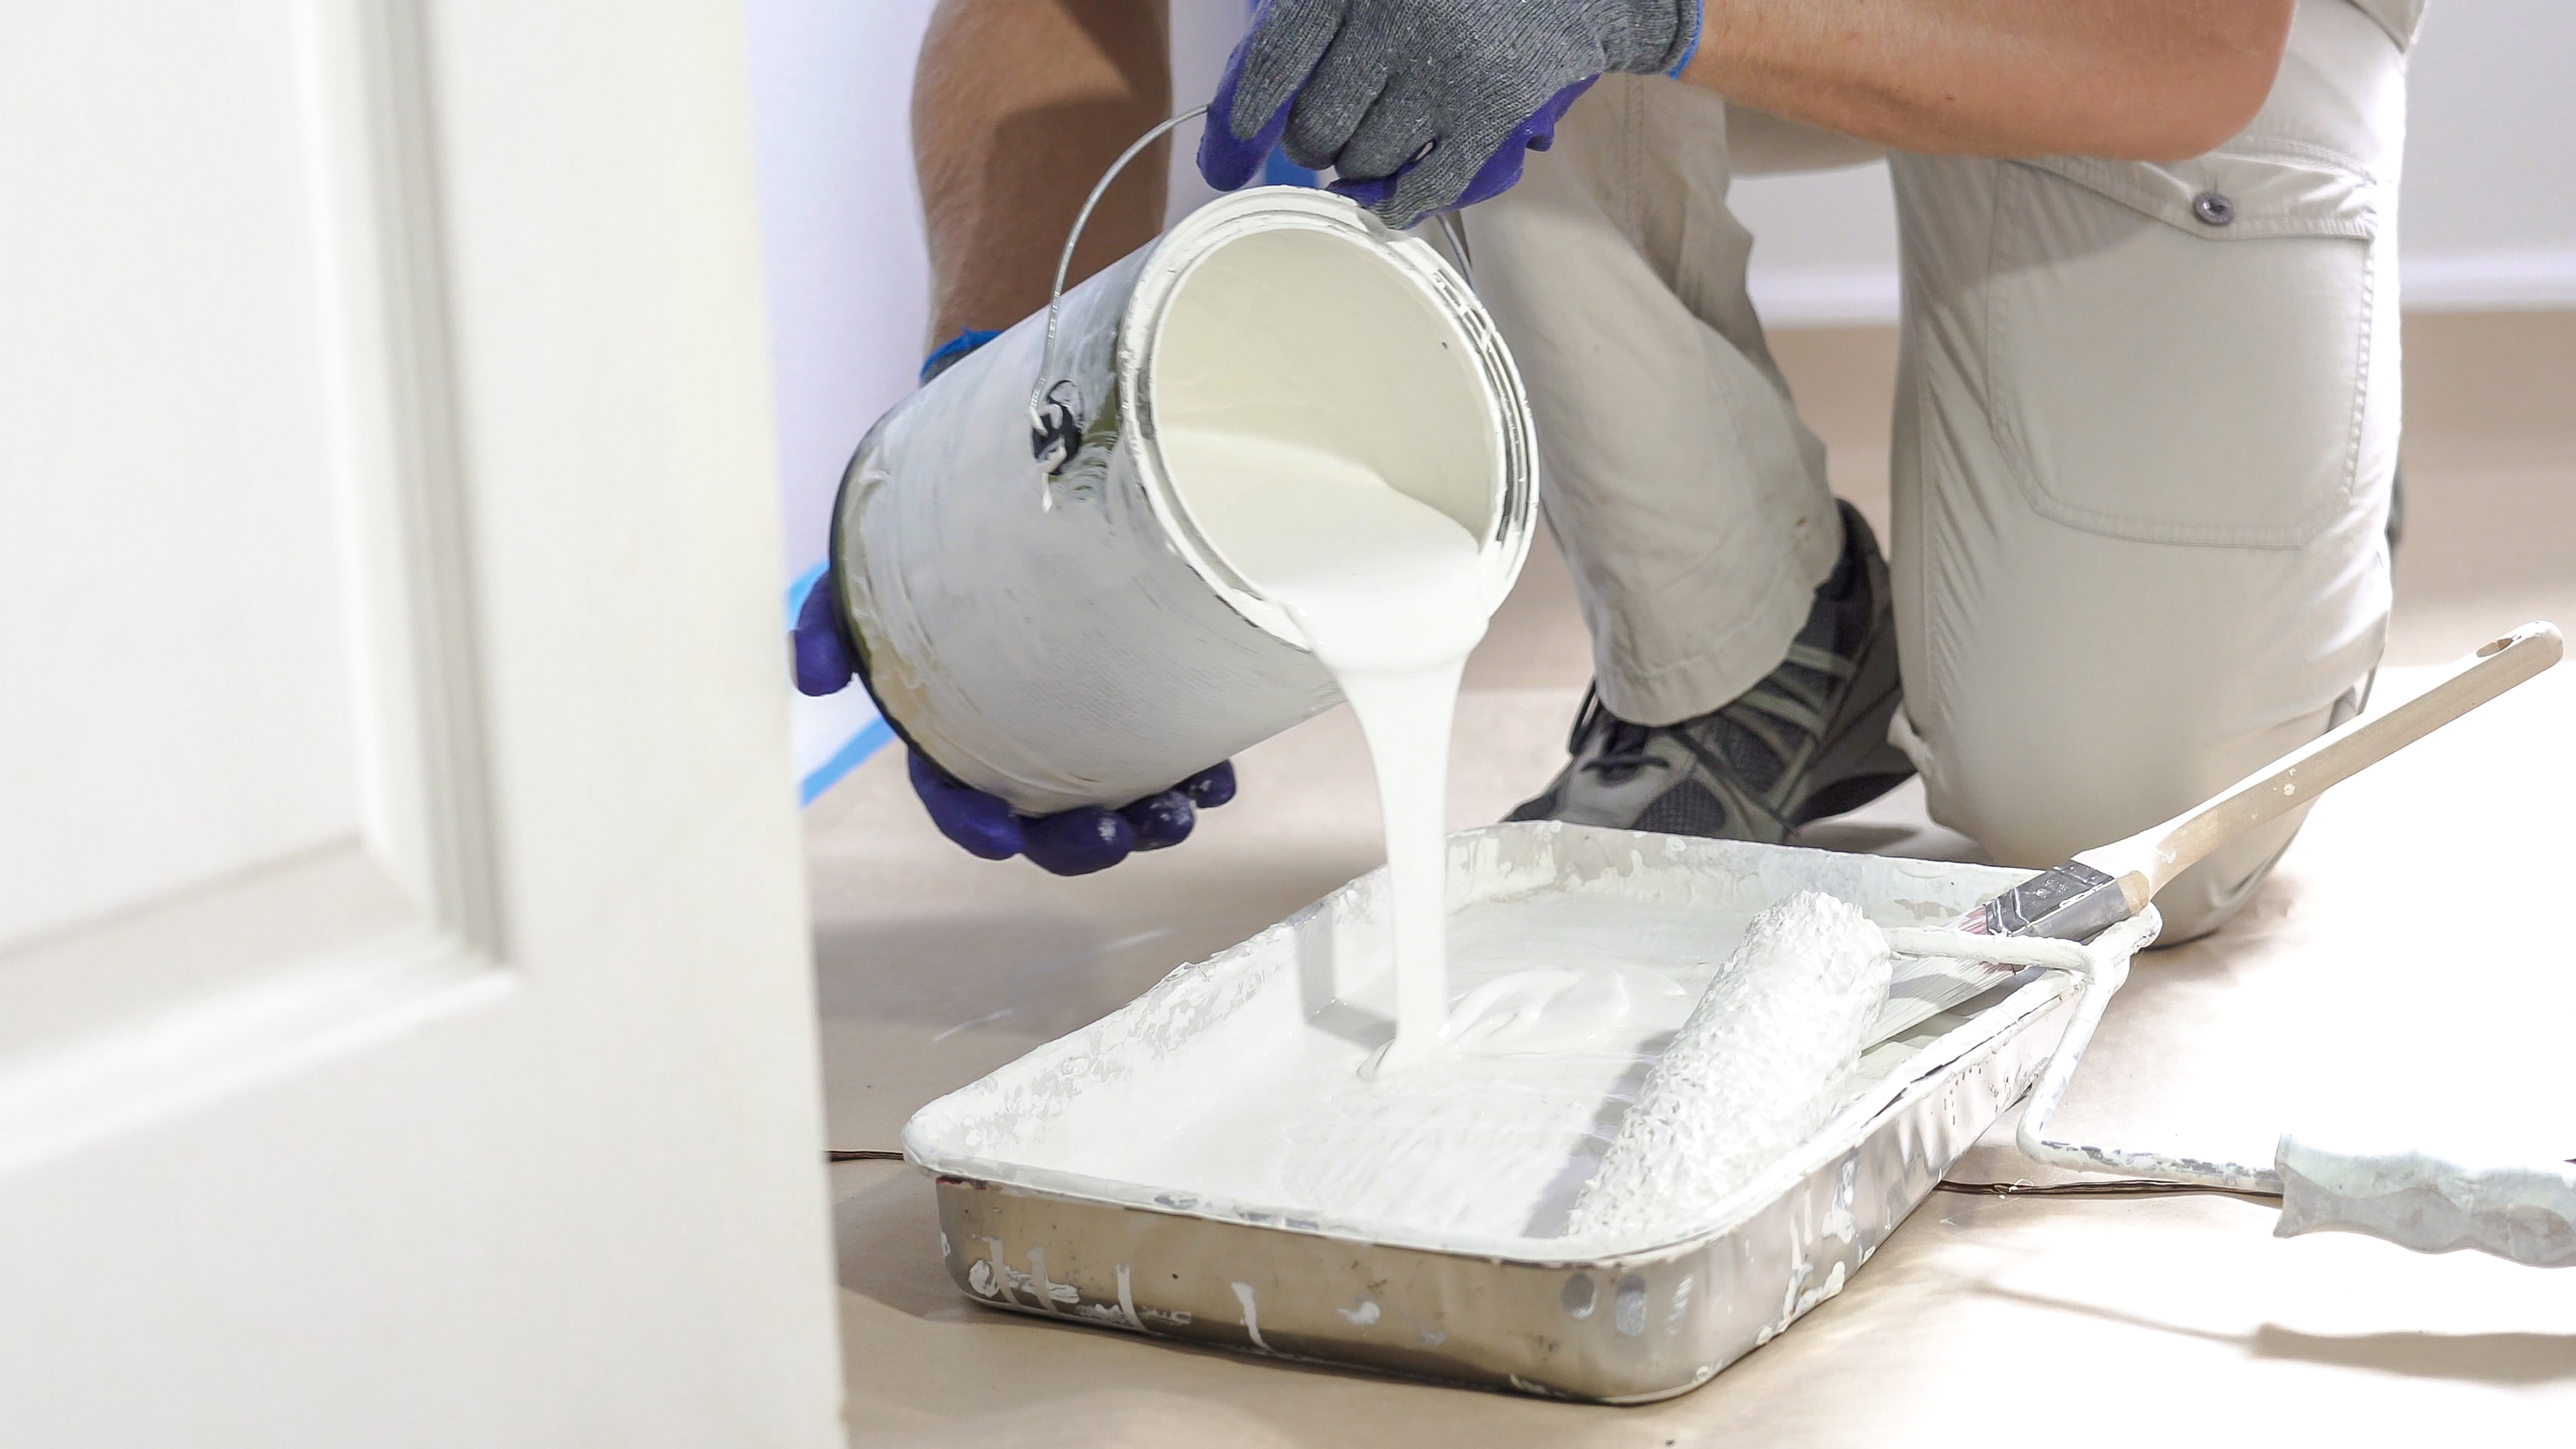
7. Mix the paint
— Open up the tin can of paint and always mix the pigment thoroughly with a wooden stir stick earlier use. This is because the ingredients tend to separate, especially afterwards sitting for a long menstruum of time. This will ensure that the colour and finish volition wait consequent.
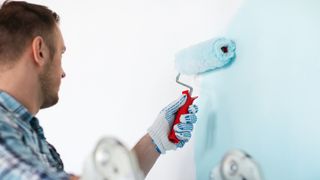
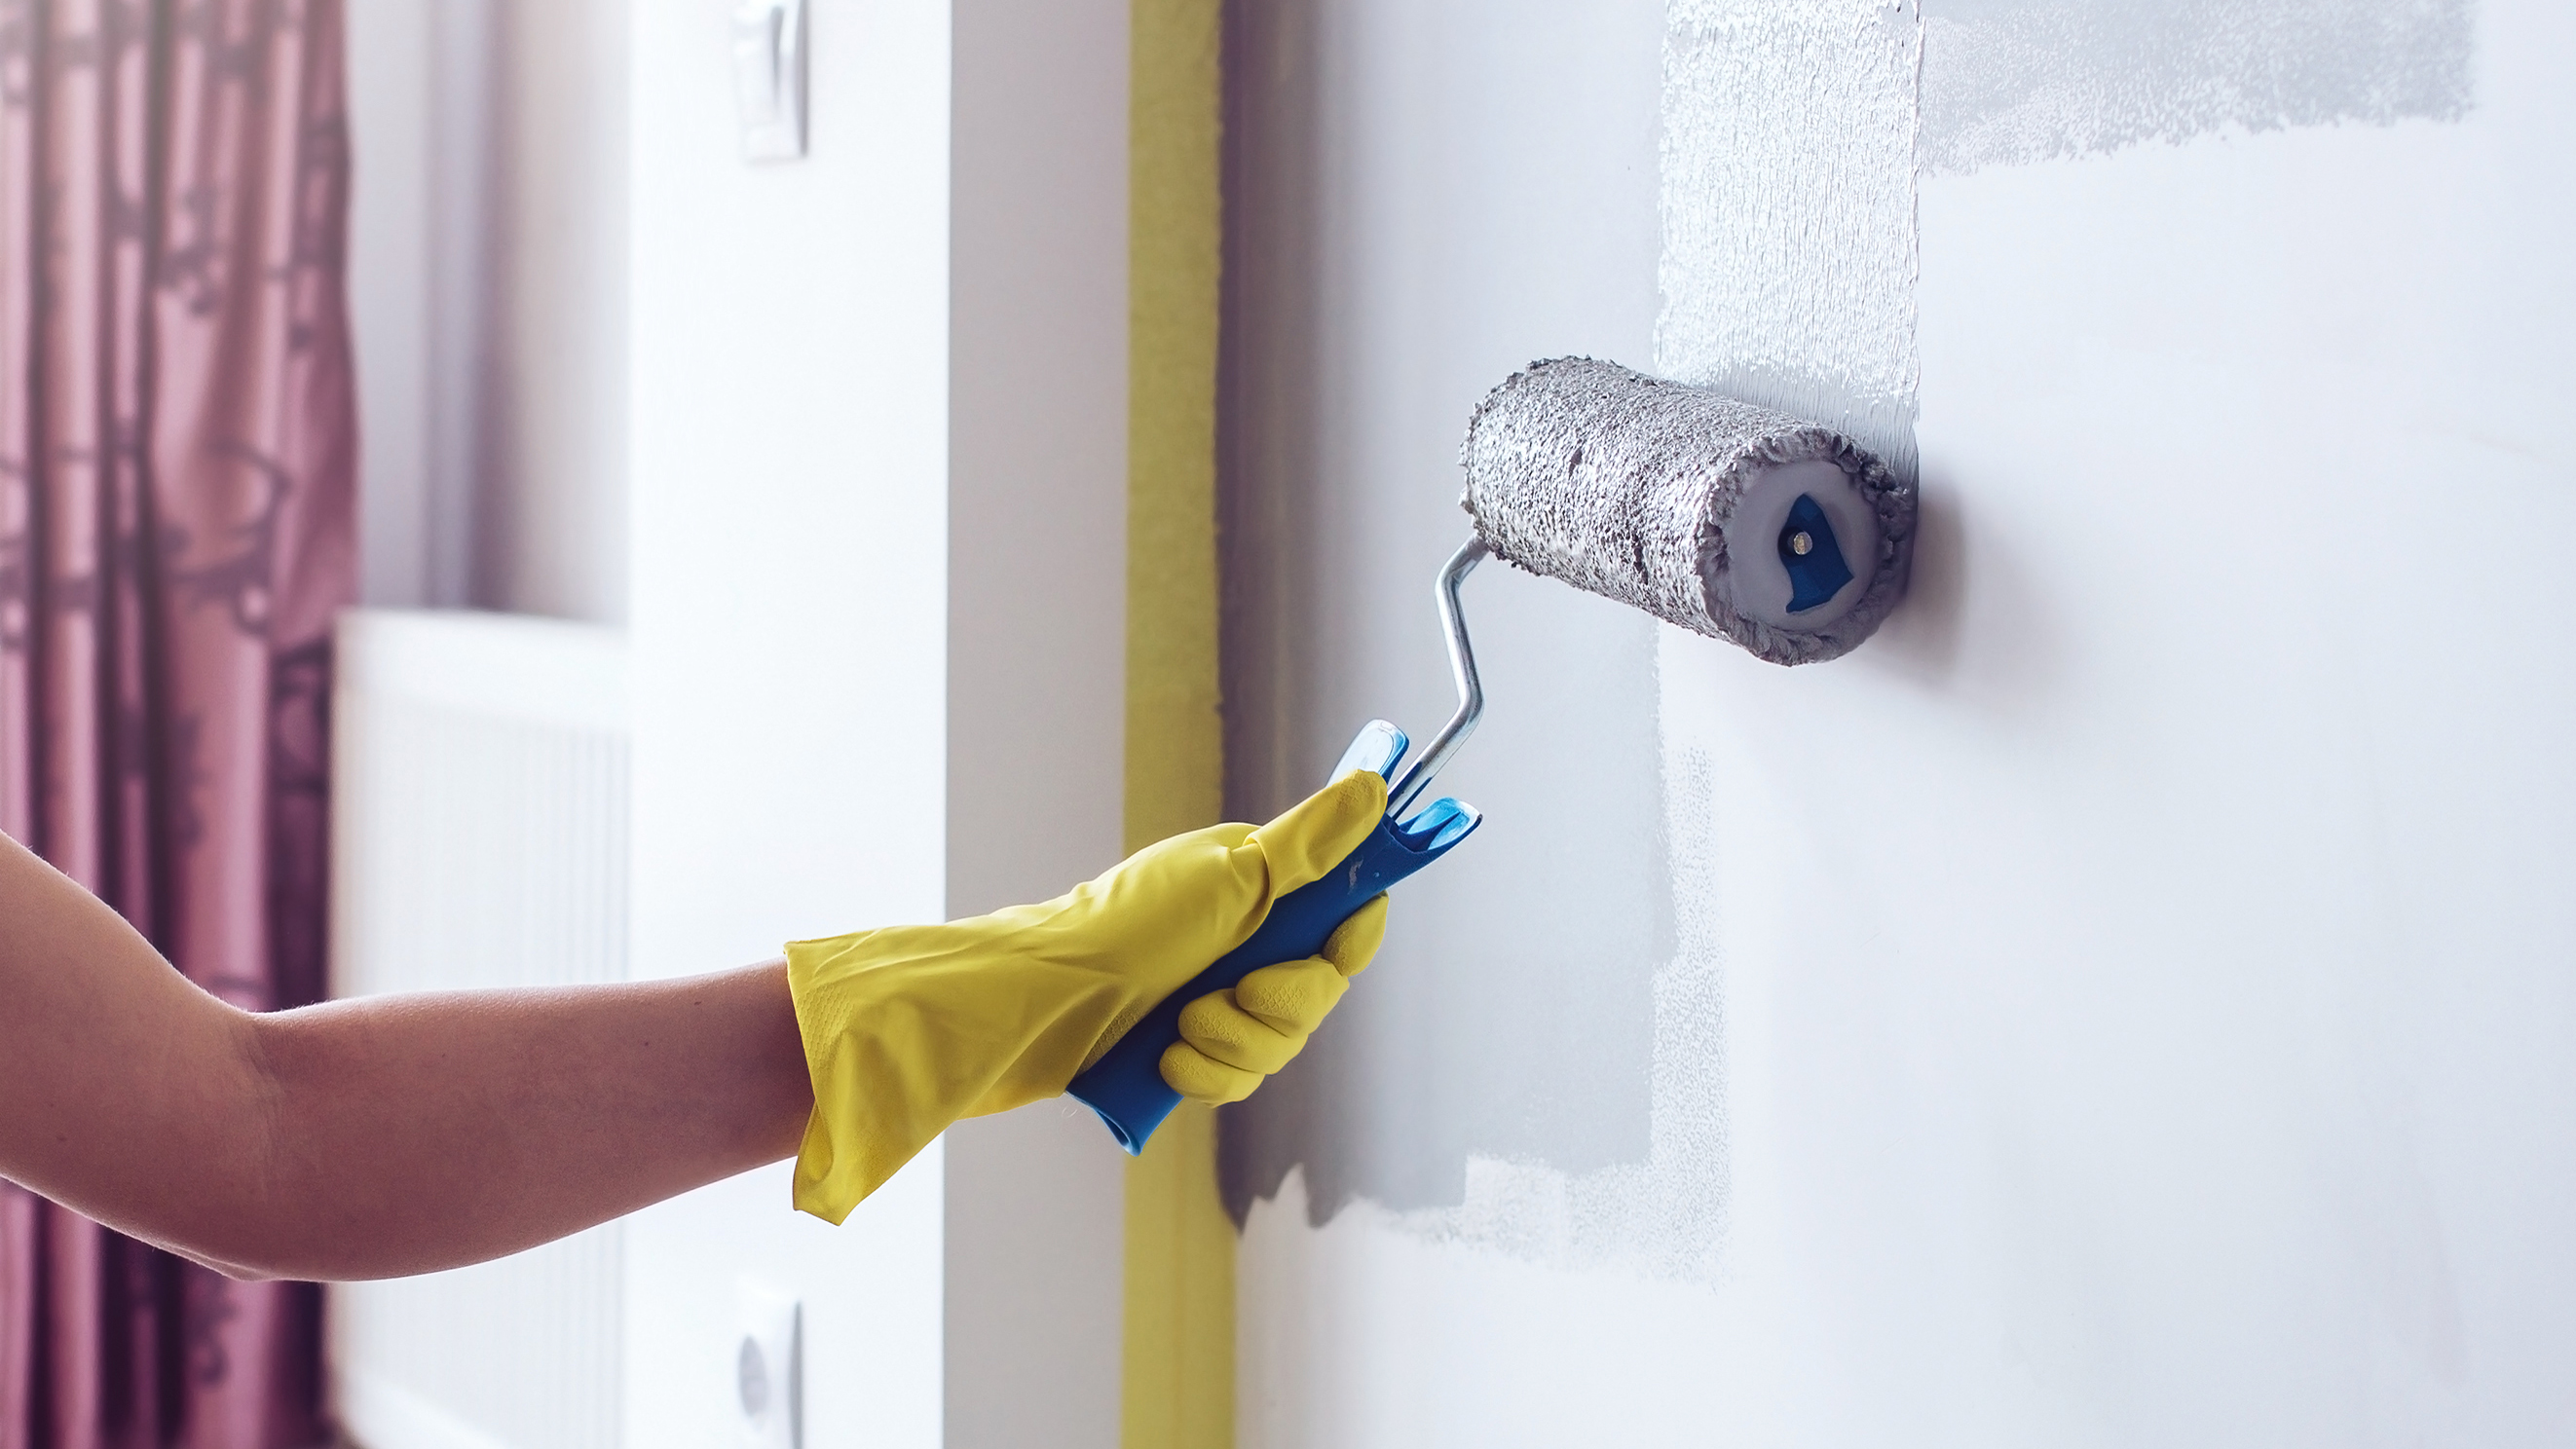
eight. Paint your walls
After all the prep work, y'all can finally pigment your walls with a roller brush and a paint brush.
— Showtime past using an angled brush to "cutting in" with a 2-inch painted line around the edges of shirting boards, door frames and the ceiling. Then, pour your chosen pigment into the tray and make full to virtually ¼ of the capacity, before rolling your roller castor back and along in the paint, and pressing off the backlog.
— Using your roller brush, outset working from the top to the bottom of the wall. And then roll back and forth across the entire wall in a series of V or W-shape strokes for a more even coat.
— Leave the first coat to completely dry (to the touch) before applying another. It's recommended to paint at least two coats to get a more rich and vibrant color cease.
9. Make clean up time
— Once your walls are painted and dry out, remove the painter'southward tape from effectually the walls and borders. Avoid leaving on for too long every bit pocket-size pieces of tape can break away and leave residue.
— So, decant the tray's leftover paint back into the tin before sealing the can tightly. If it'southward tricky to seal due to dried paint effectually the edges, tap the hat's edges gently with a hammer to close.
— Side by side, rinse the tray with warm soapy h2o and thoroughly clean your paintbrush and roller. Finally, go out the brush bristles and roller to fully dry before putting away.

How long does information technology have for paint to dry?
Latex or water-based paints are normally dry to the touch on later on one hour and you can recoat within four hours. While oil-based paints take much longer and are dry to the touch between six to viii hours. In this example, you'll need to wait 24 hours before you can recoat.
Be sure to check the instructions on the paint label to confirm specific dry out times.

Source: https://www.tomsguide.com/how-to/how-to-paint-a-room
Posted by: chengagence.blogspot.com
0 Response to "How to paint a room like a pro"
Post a Comment